Setting up android development environment on Ubuntu
This is a simple walk-through that will guide you to a convenient and easy steps to setup your Android development environment on your Ubuntu machine.
Requirements:
- Minimum of 2 Gb of RAM
- JDK 1.7+ you can install JDK 1.8 with
aptusing webupd8's repositoryNote that android studio uses JDK 1.7, using a higher version will work but you will be limited to the features that are in 1.7 only in your development
- Install build essentials to manage c,c++ dependencies to install it run
sudo apt-get update && sudo apt-get install build-essential
Now you are ready to start setting up your development environment, first we need to start with Downloading Android Studio, go and download the latest version .
After Downloading the archive you need to extract it somewhere, it's up to you where to extract the folder, but it's a good practice to install user programs in /opt/ or /usr/local on Linux machines, for me I choose /opt/ to move the extracted directory to
$ cd /your/installation/path
$ sudo mv android-studio /opt/
If you are running a 64-bit machine Install lib32ncurses5-dev and lib32stdc++6 packages as it's required for building your apps, you can install it by running the following commands :
$ sudo apt-get install lib32ncurses5-dev
$ sudo apt-get install lib32stdc++6
$ sudo apt-get install lib32z1
Navigate to location that you have the extracted directory and run bin/studio.sh executable to run android studio
$ cd path/of/extracted/android-studio/bin
$ ./studio.sh
For instance you will need to install at least one of the system images to be able to run your virtual device (If you are going to use the emulator), If you don't have a specific requirements you can install the latest stable version, you can also install an old version (Like Android 4.0.3) to test your backward compatibility.
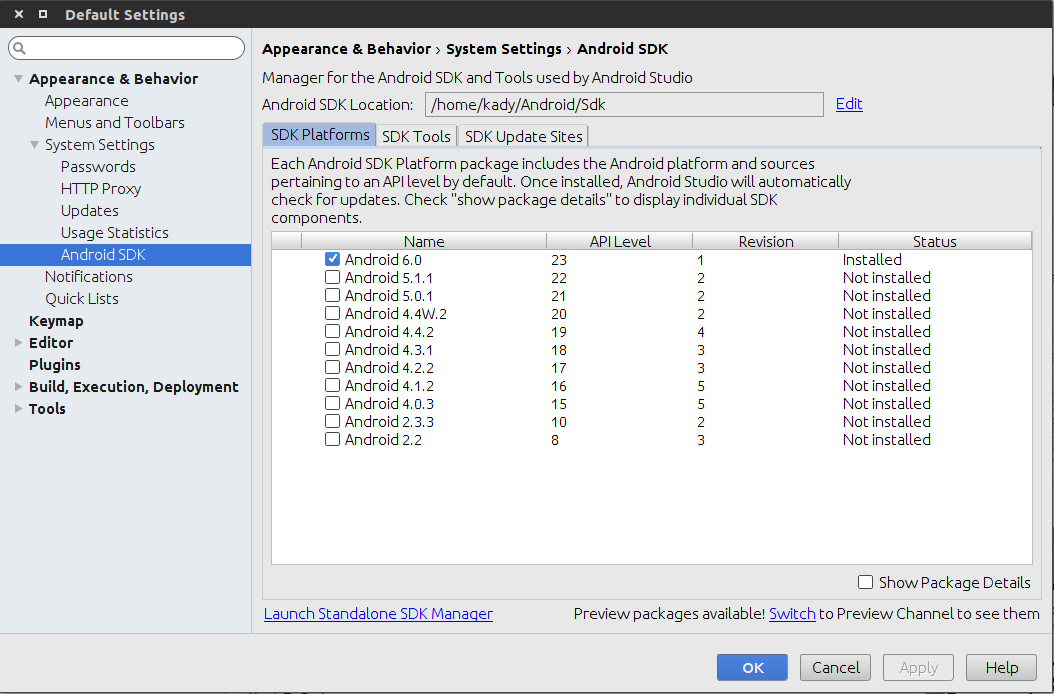
API images
Tip: If you are going to use the emulator you are advised to enable hardware acceleration which will be shown later, if your device supports hardware acceleration please install the intel x86 images after enabling
show packages details
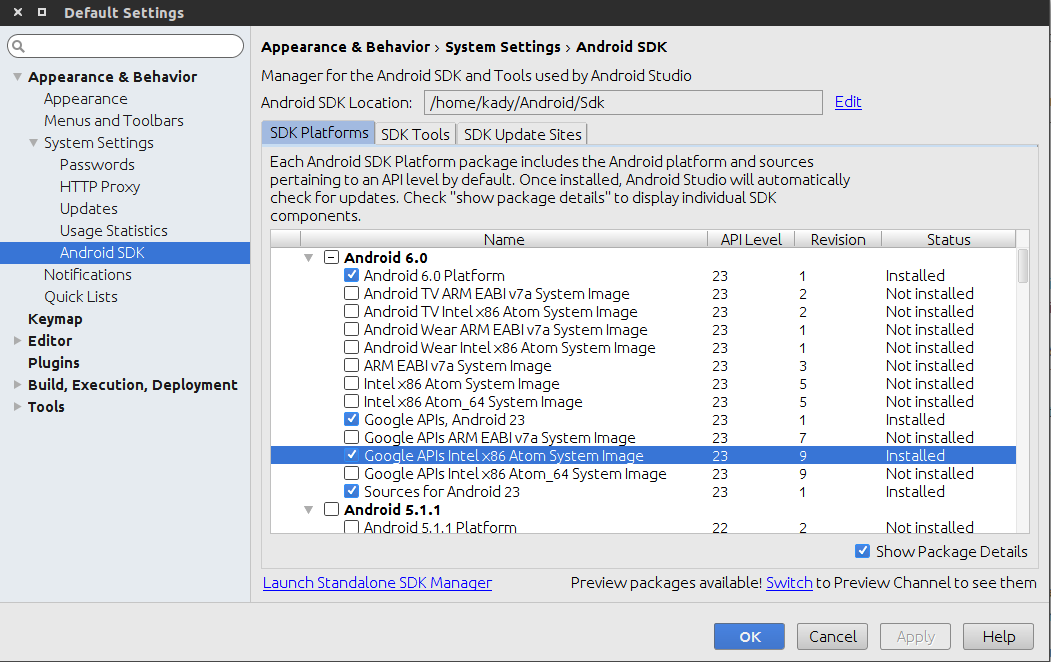
Choose the sdk-tools tab and install the following packages in the SDK tools, those are important for building your app and supporting backward compatibility with support classes
Now if you are managing to work with the emulator and your machine is capable of running hardware acceleration you should go for it, it will increase the performance of your emulated device and you will be happy! , here you can find how to manage kvm on Linux in order to enable hardware acceleration, in general you can check whether your machine is supporting hardware acceleration using this commands
$ sudo apt-get install cpu-checker
$ kvm-ok
You should get a response like :
$ INFO: /dev/kvm exists

$ KVM acceleration can be used
If your machine supports acceleration you can follow this guideline to install KVM on your machine
Create a new project now, use the default settings, let gradle download it's dependencies and build the project this could take a while in the first run create the AVD or connect your device in debugging mode and try to run the app on your machine (If you are enabling hardware acceleration please check this in order to create your AVD correctly )
You can now create a desktop entry in order to run Android studio from your launcher directly later without the need to execute studio.sh again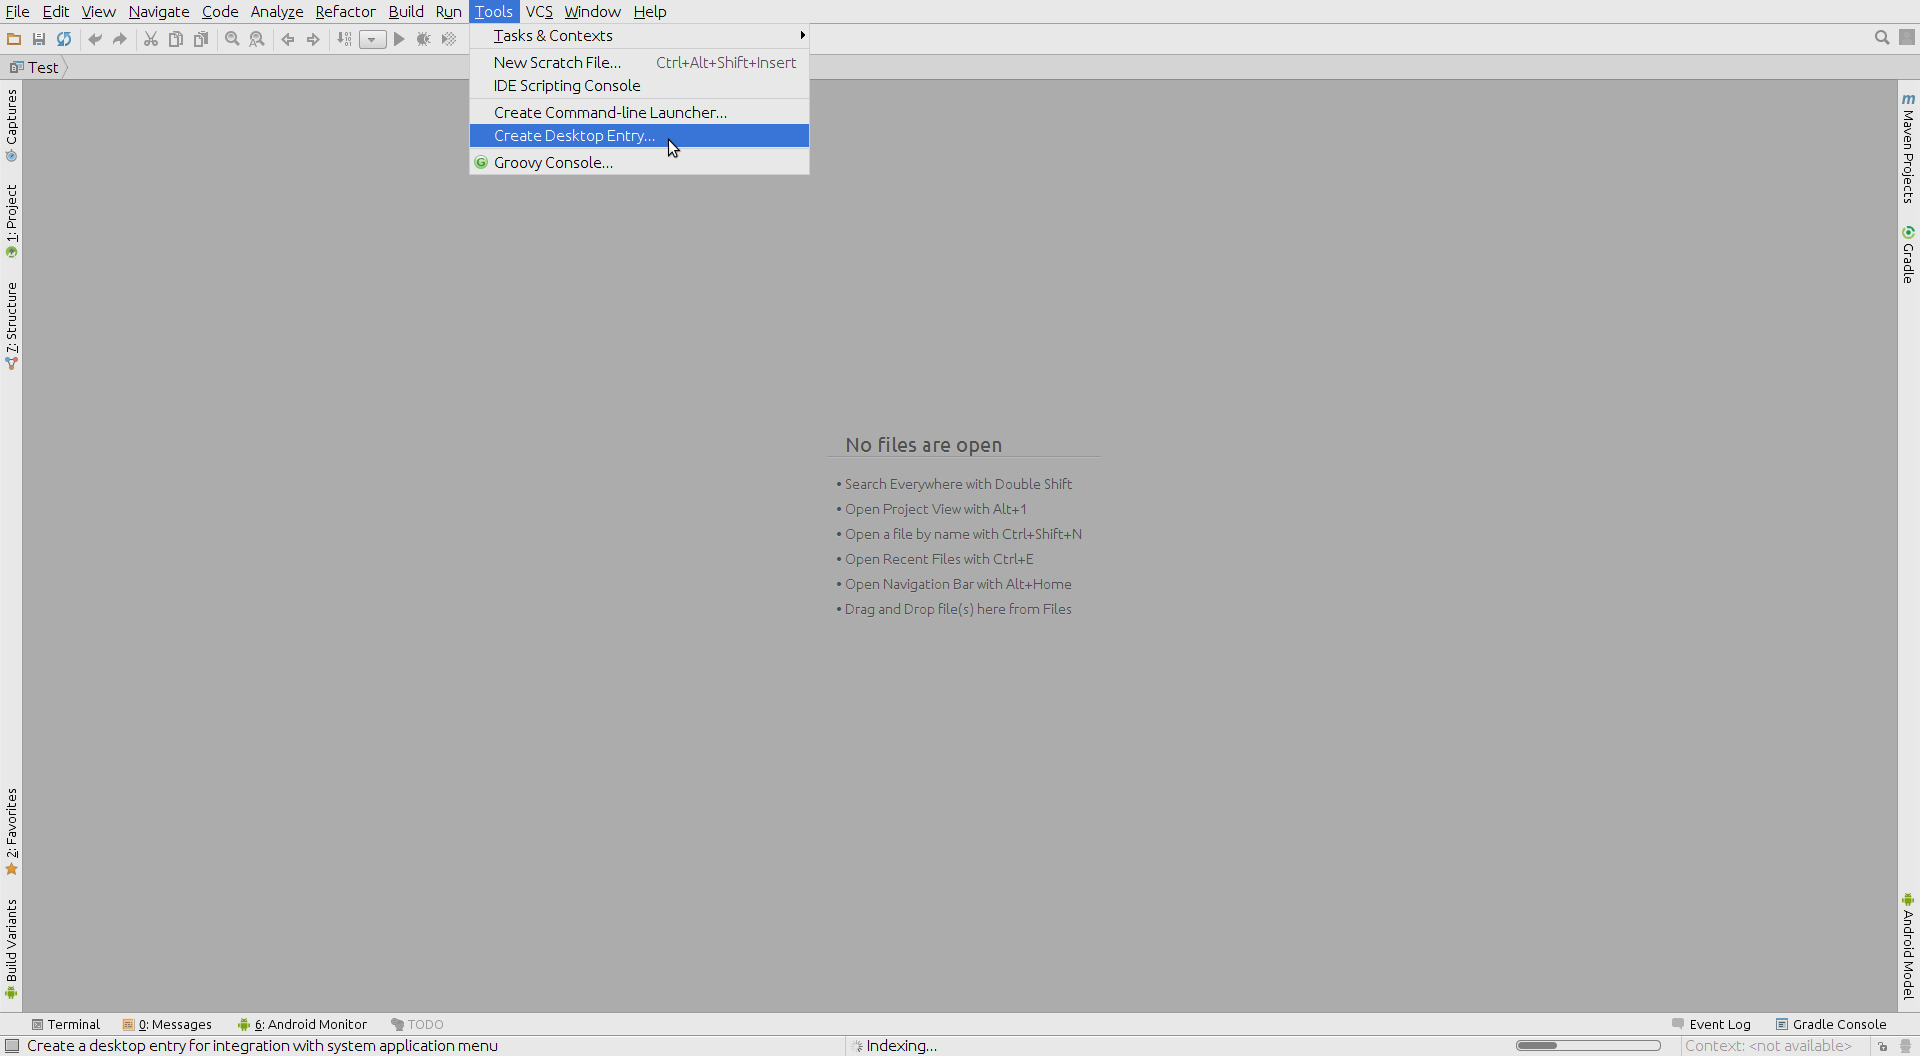
Desktop entry creation
That's it, you have completed setting up the basics for your android development journey, happy coding and hacking